
Last week I spoke a talk about WP-CLI at WordCamp Vienna. In this post, I want to give you a short overview of the command-line and WP-CLI.
What is the command line?
The command line or console, terminal, shell, interface, CMD, CLI or prompt, is nothing more than a text-based program for viewing, editing or manipulating files. Therefore, it is a regular program without a GUI, i.e. without a graphical user interface. A terminal itself is a text input/output environment and a console a physical terminal. The shell itself is the command-line interpreter. But due to their close relation, all of those terms are used synonymously.
The arrow or dollar symbol indicates that the command line is waiting for a command to be entered.
What is WP-CLI
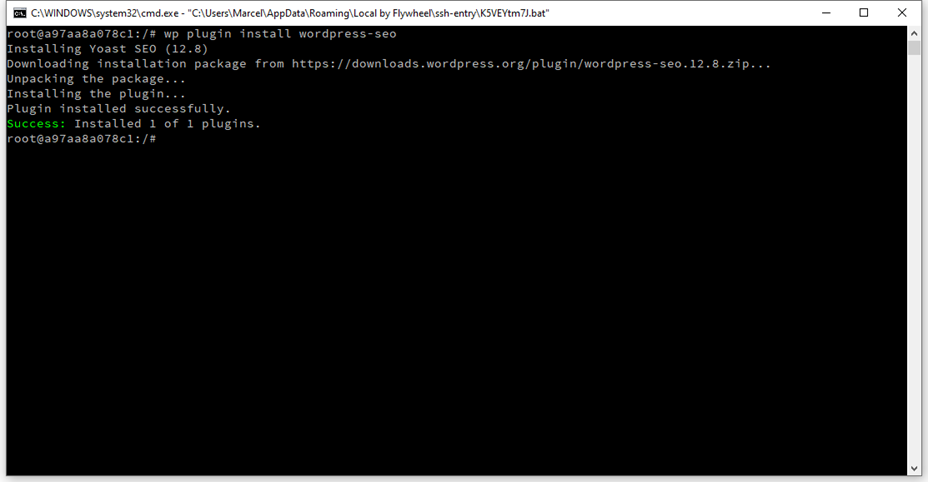
WP-CLI is a collection of command-line tools to manage your WordPress installation. You can perform various WordPress actions without a browser.
The goal is to provide a command-line interface for every action on WordPress as an alternative to the admin area.
And what can I do with it?
You can perform countless tasks comfortably from the command line:
- Download, install, configure, update WordPress or set preferences.
- Download, install, enable or disable plugins and themes, …
- Add & remove users, posts and categories
- install languages or generate dummy data
- Reset the passwords of the users
- Import and export the database to create backups
- Manage file attachments
- Create code boilerplates for themes, child themes or even Gutenberg blocks
- Create installations scripts for automation via shell script
Requirements WP-CLI
WP-CLI must be installed directly on your hosting package or server. If you want to use it for local development, you can install it on your local machine. The installation requires SSH access and a UNIX environment such as macOS, FreeBSD or Cgywin. With a few extra steps, you can install WP-CLI also on a Windows environment. Also, PHP 5.6 and WordPress at least version 3.7 is required.
You can also install WP-CLI on your own computer for local development. For example, directly via CMD, Powershell or with WSL, the Linux Subsystem for Windows.
Installation WP-CLI Windows 10
The installation on Windows is the most complex variant. First the .phar file must be downloaded from the WP-CLI project page. Then create a folder on your C:\ drive, e.g. c:\wp-cli. and move the file there. WP-CLI requires an installed PHP runtime environment on the system. I recommend installing XAMPP as server. After that, you have to add the environment variable of the PHP environment in the system settings. Now create a batch file, which calls the downloaded .phar file via PHP.
I recommend you to check out this video on YouTube where you can easily follow the process.
Installation WP-CLI macOS / Linux
The installation on UNIX based systems is very simple. Unlike Windows, the installation is done directly on the command line. To open the command line on the Mac, press cmd + spacebar and search for “Terminal” in the Sportlight search. With a click on the search result you open it.
On Linux you can open the terminal with CTRL + ALT + T. Now enter the following commands:
$ curl -O https://raw.githubusercontent.com/wp-cli/builds/gh-pages/phar/wp-cli.phar (or wget)
$ php wp-cli.phar --info
$ chmod +x wp-cli.phar
$ sudo mv wp-cli.phar /usr/local/bin/wp
$ wp --info
WP-CLI is preinstalled with:
- Cloudways
- SiteGround
- Bluehost
- Dreamhost
- Synthesis
- WordPress.com VIP
- Raidboxes
- WPEngine
- IONOS
- The full list is available in the WP-CLI manual
Photo: © Klaus Prokop