Introduction
Git is the most popular tool for keeping track of changes in software projects. It’s especially useful for WordPress developers. Learning Git helps you manage changes to your code, work well with other developers, and make deploying your projects easier.
In this post, we’ll take a look at what actually Git is and how it works, and provide some tips for getting started with Git for WordPress development.
What is Git?
Git is an open source distributed version control system that allows developers to track and manage code changes. It enables developers to work on code changes concurrently, without overwriting each other’s work. Git also provides a history of code changes, which can be useful for debugging and tracking down issues. Git was developed in 2005 by Linus Torvalds, who is the creator and lead developer of the Linux kernel.
How does Git work?
Git works by storing code changes as a series of “commits.” Each commit represents a discrete change to the codebase, and is stored in a repository along with metadata such as the commit message and the author.
Git repositories can be hosted on a remote server, such as GitHub or GitLab, or they can be stored locally on a developer’s computer. Developers can clone a repository to their local machine and make code changes, and then push those changes back to the remote repository when they are ready to be shared with others.
Getting started with Git for WordPress development
- Install Git: In order to use Git, you’ll need to install it on your local machine. You can download Git from the official website or use a package manager like Homebrew (on macOS) or Chocolatey (on Windows).
- Set up a remote repository: Before you start using Git, you’ll need to set up a remote repository to store your code changes. There are a number of options for hosting Git repositories, including GitHub, GitLab, and Bitbucket. Choose a provider that meets your needs and create a new repository for your WordPress project.
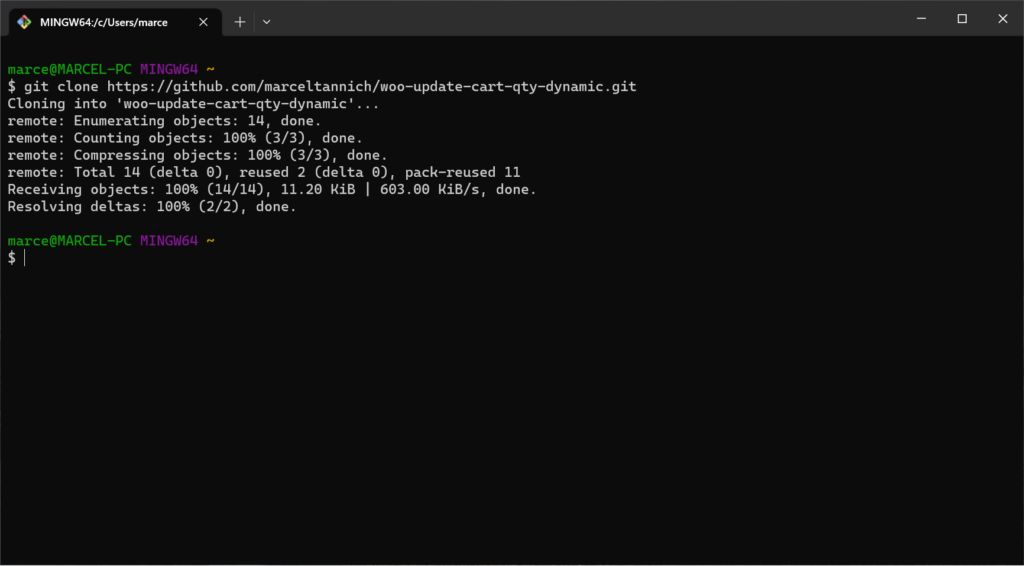
- Clone the repository: Once you have a remote repository set up, you can clone it to your local machine using the
git clonecommand. This will create a local copy of the repository on your machine, which you can use to make code changes. - Make code changes: With the repository cloned to your local machine, you can start making code changes. When you’re ready to commit your changes, use the git add and git commit commands to stage and commit your changes.
- Push your changes: When you’re ready to share your code changes with others, use the git push command to push your commits to the remote repository. This will make your code changes available to other developers who have access to the repository.
Git serves as a robust asset in WordPress development, aiding in code management, team collaboration, and efficient deployment. I hope you now have a clearer understanding of Git’s capabilities and the advantages it offers. In the chapter ahead, we will explore more advanced aspects of using Git.
Leave a Reply